
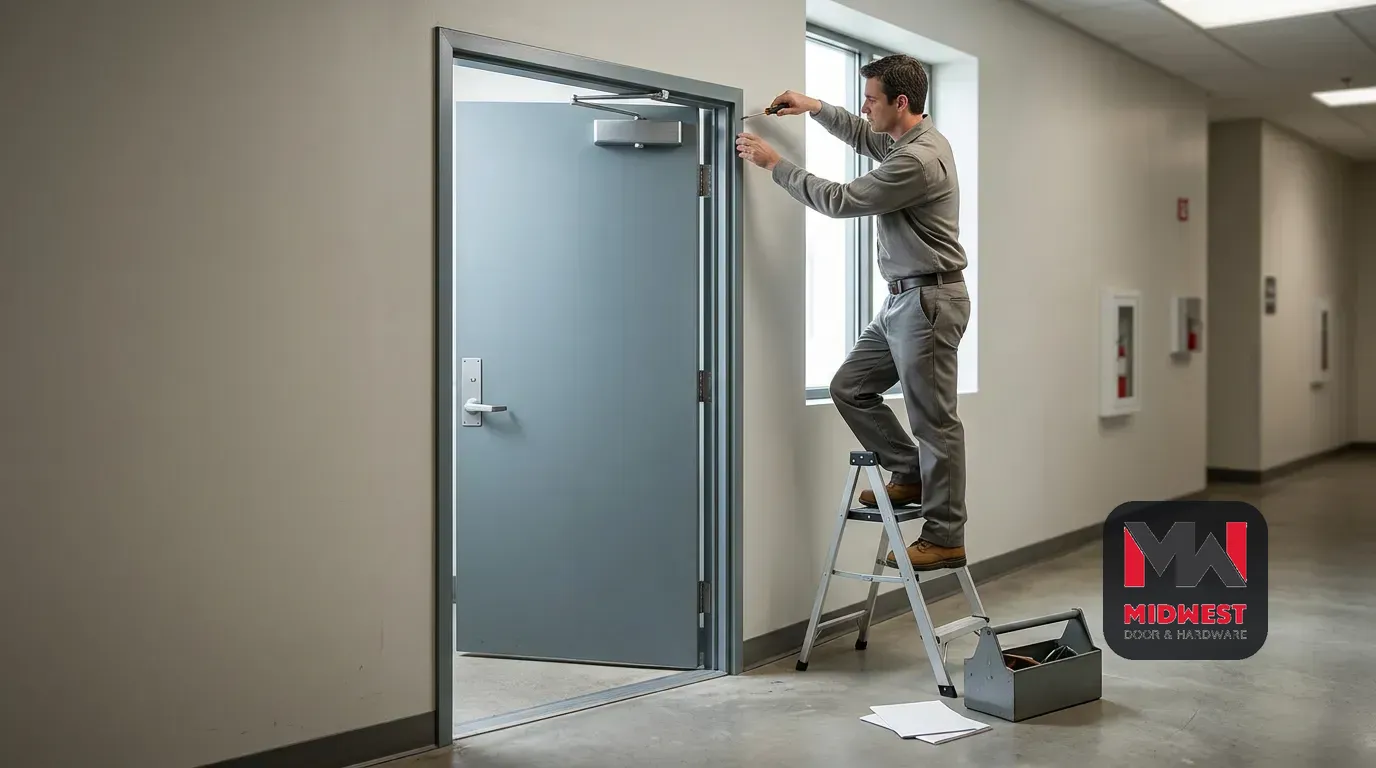
door closer fix
Door Closer Troubleshooting: When to Adjust and When to Call for Service
Start with a cautious go-or-stop decision
A commercial door closer is a candidate for a basic adjustment only when the opening’s condition and the closer’s specific instructions support that step. A permitted adjustment may restore operation, but a problem with the closer, arm, hinges, door, or frame may call for something other than a valve change. Start with what you can observe. Don’t assume every closing problem comes from a setting.
A leaking or visibly damaged closer, a closer known to be incorrectly sized, or a door that will not latch reliably are reasons to stop guessing at valve settings. Further adjustment may not address those conditions. Record what you see and arrange service rather than trying turns at random. If the closer’s size is unknown, record it as unknown; don’t treat uncertainty as a confirmed sizing problem.
The closer’s manufacturer and model determine its valve positions, turning directions, and adjustment limits. Find installation instructions that match the exact closer before making a change. If you cannot identify the model or find instructions that apply, leave the adjustment alone until you have product-specific guidance. This keeps a general troubleshooting idea from becoming a guessed setting on a particular opening.
Use observable symptoms as clues, not a diagnosis
A useful door-closer check begins with the condition you can describe, not a guessed repair. Note whether you see leakage or damage, whether the closer is known to be incorrectly sized, and whether the door latches reliably. These observations can help you decide whether to pause or consult the model instructions, but they do not identify a particular failed part.
A door-closer problem may involve the closer itself, its arm, the hinges, the door, or the frame. Several parts of the opening may therefore need consideration, and one symptom alone does not establish which part needs attention. Keep the description factual: note the operation and visible condition, then leave the cause open until it can be assessed. For a Lincoln project or another Nebraska commercial job, the same distinction helps keep an early observation from being treated as a completed diagnosis.
A short condition record gives you a clear basis for deciding what to do next. Include:
- What the door does during operation and whether it latches reliably.
- Whether you see leakage or physical damage at the closer.
- The closer’s make and model, if you can identify them.
- Whether the closer is known to be correctly sized, or whether its size is unknown.
- Any known concern involving the arm, hinges, door, or frame.
Separate what you observed from what still needs assessment. Use the record to describe the opening; don’t use it to assign a hidden fault. Because commercial closers control the opening while it is being opened and while it is closing, note which part of the cycle contains the concern. That detail makes the observation more specific without identifying a particular setting or failed part.
Check the opening before adjusting the closer
Door alignment is a preliminary check before you adjust a closer. The door should be properly aligned before you make an adjustment. If you cannot establish that condition, pause rather than trying to compensate with a closer setting. Keep the result of this check in your notes, especially if you need to explain why you stopped.
The complete opening matters because an adjustment may not solve a problem involving the closer, arm, hinges, door, or frame. Keep your check to conditions you can describe and known issues; don’t infer a hidden fault from one symptom. If the concern appears to involve more than a permitted closer adjustment, arrange service for the opening instead of making repeated valve changes.
Four common control zones are used to describe door-closer control across the swing of a door. That general description does not tell you which setting to change on an unknown closer. Control positions and limits depend on the specific product, so use the matching instructions to identify any permitted adjustment. If the instructions do not match the closer in front of you, stop there. Some closer types have standard controls and may also have optional controls added at the factory. The four-zone description is general, not confirmation that every closer has an identical set of controls.
Let the exact model instructions set adjustment limits
A basic closer adjustment should follow the instructions for the exact model, not a general rule about which way to turn a screw. Before making a change, work through these checks:
- Identify the closer model and locate its installation instructions.
- Check that the instructions cover the adjustment you are considering and show its direction and limits.
- Confirm that the door is properly aligned.
- Use the correct tool for the adjustment.
If a step does not match the product or the condition you have, stop and seek product-specific guidance rather than improvising. The instructions for another closer are not a substitute.
The model’s instructions set the applicable adjustment procedure, and the correct tool matters. Avoid excessive force on adjustment screws. Positions, directions, and limits vary by manufacturer and model, so don’t use resistance, a guessed turn, or another closer’s settings as a substitute for instructions. If you cannot tell whether the proposed change is permitted, do not make it.
After a change allowed by the model instructions, check the same condition that prompted the work: does the door latch reliably? Treat that observation as a practical decision point, not proof that every part of the opening is in order. If the original problem remains, stop adjusting and move to service rather than repeating a change without a clear instruction.

Decide whether the result is reliable enough to continue
If the door latches reliably after an adjustment permitted by the model instructions, stop making further valve changes. Record what you observed and what adjustment you made. A closer adjustment may restore operation, but that result does not establish that every part of the opening is in order or that a fire-rated opening meets project requirements. Keep the conclusion limited to the condition you checked.
If the door still will not latch reliably, don’t keep turning valves in search of a result. The issue may involve the closer, arm, hinges, door, or frame, and an adjustment may not resolve it. Arrange service and share your condition record so the opening can be assessed beyond the setting you have already checked.
If the closer is leaking, visibly damaged, or known to be incorrectly sized, further valve adjustment may not be the answer. Stop adjusting and arrange service. If the size is simply unknown, note that uncertainty and avoid presenting it as a confirmed fault. In either case, don’t use additional turns as a substitute for resolving the condition.
Treat fire-door operation as an assembly concern
A fire-door assembly must be considered as an opening protective, not judged by closer movement alone. Fire-door assemblies help compartmentalize a building and deter the spread of smoke, flames, and toxic gases. An uncorrected deficiency may prevent the opening protective from functioning properly during a fire. That is why a closer’s apparent movement is not the whole assessment.
For a fire-rated opening, use the applicable project requirements and inspection process to determine what the assembly needs. A closer that appears to operate after an adjustment does not, by itself, show that the assembly meets those requirements. An adjustment addresses a setting; an inspection considers whether the fire door functions as designed and tested. Fire-rated door assemblies also require annual inspection and testing under NFPA 80, with maintenance documented. A successful closer adjustment is not a substitute for that inspection and testing.
Fire-door inspections address whether the door functions as designed and tested. If you have a fire-door concern or an unresolved deficiency, use the applicable project inspection and correction path. Do not treat repeated closer adjustments as confirmation that the opening is ready.

Arrange service when adjustment is not the answer
Arrange service when a closer leaks, shows damage, cannot latch reliably, or remains unreliable after an instruction-led adjustment. The issue may involve the closer, arm, hinges, door, or frame, so a qualified professional should determine what correction suits your particular opening. Bring your observations and model information to make the service discussion specific.
At Midwest Door & Hardware, we adjust and repair doors, frames, and hardware, and replace worn-out parts.
What should prompt a service call?
Can a commercial door closer be repaired, or does it need replacement?
It depends on the condition and model. A permitted adjustment may restore operation, but leakage, visible damage, unreliable latching, or a problem involving the arm, hinges, door, or frame may call for service beyond an adjustment. Have the specific opening assessed rather than assuming repair or replacement from one symptom.
What should I check before adjusting a commercial door closer?
Check that the door is properly aligned, identify the closer model, and consult its matching instructions for the adjustment method and limits. Use the correct tool and do not force adjustment screws. If you cannot confirm the product-specific procedure, leave it unchanged and seek guidance.
When should I stop adjusting a door closer and arrange service?
Stop if the closer is leaking or damaged, the door will not latch reliably, or the problem persists after an adjustment permitted by the model instructions. Record what you observed and any known concerns with the arm, hinges, door, or frame so the opening can be assessed without treating a symptom as a diagnosis.
Does a door closer working after adjustment prove a fire door is compliant?
No. A closer’s operation alone does not establish that a fire-door assembly meets project requirements or functions as designed and tested. Use the applicable project inspection and correction process for a fire-rated opening, especially when a deficiency remains unresolved.
Start Your Build
Got a project? We'll bring frames, doors, hardware, and the expertise to keep every opening on schedule.